Rooms with limited daylight need layered, glare-controlled illumination rather than a brighter ceiling grid. Combine ambient, task and accent lighting around real activities; test the scheme at night and adjust it to the surface colours, ceiling height and needs of the occupants.
Define activities and lighting scenes; Check glare from seated and lying positions; Put switches where users naturally reach.
Separate tasks from atmosphere
A bedroom needs good reading light but a gentle setting for winding down. A living room may need bright cleaning light, comfortable conversation light and a subdued television scene. List uses before choosing fixtures. Plan a useful basic level of light and add focused task lighting where it matters; scattering more downlights across the ceiling rarely resolves a poor layout.
Treat vertical surfaces thoughtfully
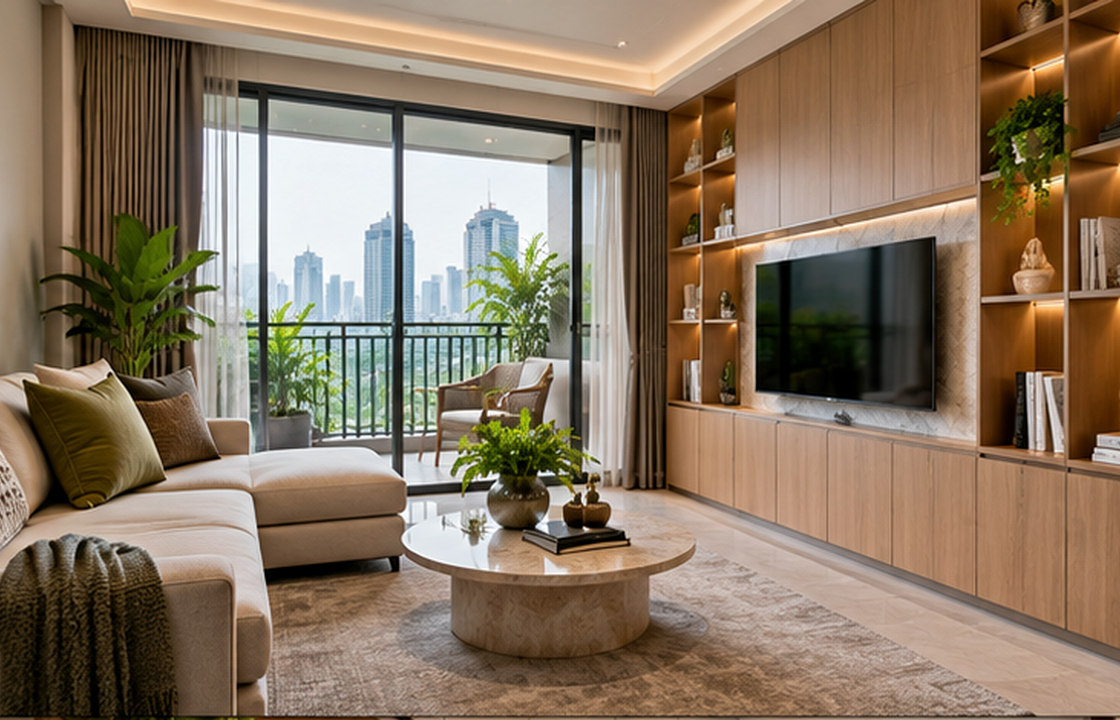
Wall washing, light-coloured finishes and thoughtful indirect light can make a compact room feel more open. Avoid aiming fixtures directly into the eyes of seated occupants or creating reflections on televisions and glossy cabinetry. Test different light directions at the actual furniture positions. A lighting plan should include the location of switches as clearly as the location of fittings.
Coordinate control and flexibility
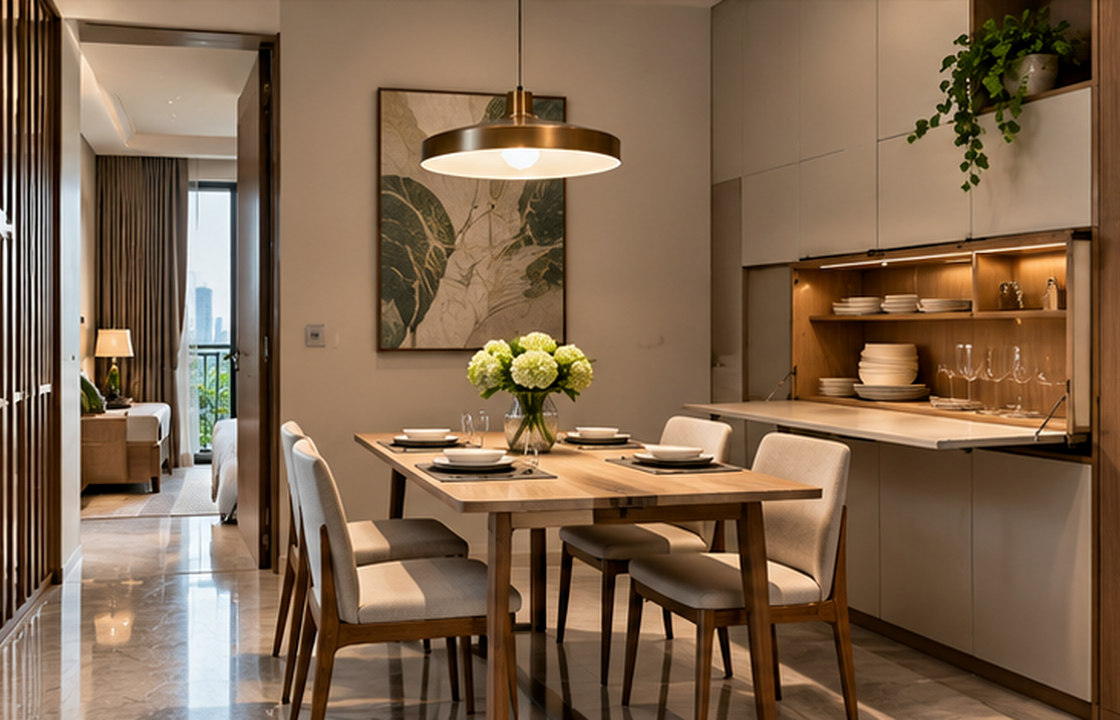
Separate the dining, lounge and circulation zones where they share a room. Consider which controls are reachable at the entry and from a bed. Smart controls can be useful, but provide intuitive manual operation and a clear fallback. Ask suppliers to demonstrate dimming compatibility; colour quality and flicker are difficult to judge from a product catalogue.
Mock up one representative area
Before ordering every fitting, test a corner of the actual space with similar finishes, furniture and ceiling conditions. Look at it from standing and seated eye levels at different times of day. Check cleaning and access for drivers or recessed equipment. The approved mock-up becomes the benchmark for installation and helps avoid late changes to ceiling openings.
Create a scene-by-scene lighting schedule
For every room, define the desired lighting for morning activity, focused tasks, relaxing, cleaning and late-night movement. List which circuits serve each scene and which switches are used from the entrance, bed or sofa. Note fittings that must be maintained without damaging the ceiling. Ask for an on-site evening review with temporary lamps or samples, ideally after major surface finishes are present. A lighting schedule helps the client approve the experience, not just count fixtures; it also prevents inconsistent changes by different trades.
A Jakarta design scenario
In a shaded ground-floor apartment in Kemang, indirect light on a warm wall, a practical reading lamp and separate dining pendant can create more comfort than a uniform grid of strong spotlights.
Balance the design priorities
Brightness is not the only measure of good lighting. Balance clarity, comfort, energy use and maintenance with the mood of each room.
Common pitfalls to avoid: Selecting downlights before furniture locations; Ignoring glare from the bed and sofa; Buying dimmers without checking compatibility.
Practical review checklist
- Define activities and lighting scenes
- Check glare from seated and lying positions
- Put switches where users naturally reach
- Test dimmers with actual lamps
- Approve a nighttime mock-up
Turn this checklist into a coordinated review with the owner, operator, designers and relevant technical specialists. Confirm which items belong to the appointed scope before drawings, procurement or construction are authorised.
Frequently asked questions
What lighting is best for a dark Jakarta apartment?
Use a balanced mix of general, task and indirect lighting. The exact solution depends on furniture placement and wall finishes.
Are smart lights necessary?
No. Simple switches and separate circuits can work very well. Smart systems should add convenience without complicating basic use.
Why test lights in the actual room?
A showroom does not reproduce ceiling height, surface reflection or actual viewing angles. An on-site test reveals glare and poor task lighting.
Moving from idea to a clear brief
A useful next step is to collect photographs of the existing site, a measured plan where available, an outline of users and operations, target timing and the decisions that remain open. A design consultation can then focus on scope, priorities and technical interfaces before materials and furniture are ordered. Local permissions and specialist requirements should be checked with appropriately qualified advisers.
Explore SATU.JAKARTA’s expertise, browse the portfolio records, or begin a project conversation.